|
Click on an image to enlarge it and see the surgeon's comments. Follow the numbers to see the whole procedure in the right sequence. You can view the entire process in steps (click on, view and then close each image separately) or as a slide show (click on any image to view it, then use left/right arrows on your keyboard or arrows that appear on the image control bar to navigate through all images/steps). If you'd like to look at two or more enlarged images - open as many as you like and position them on your screen by moving image windows.
|
|
1.
|
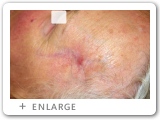
1. Left temple skin cancer.
|
2.
|
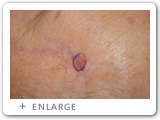
2. Boarders of the visible tumor are marked.
|
3.
|
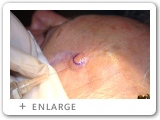
3. Surgical field is frozen with local anesthetic.
|
4.
|
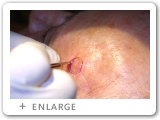
4. First incisions start just outside the visible marked tumor.
|
|
5.
|
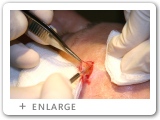
5. A small full thickness segment of skin is removed.
|
6.
|
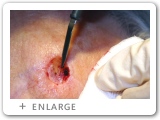
6. Local bleeding is controlled with electrocautery.
|
7.
|
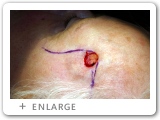
7. A tissue flap adjacent to the defect is designed.
|
8.
|
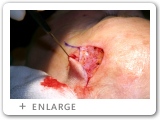
8. The flap is elevated.
|
|
9.
|
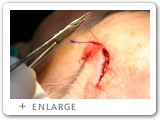
9. The flap closes the wound and is stitched in place.
|
10.
|
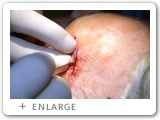
10. Redundant tissue is trimmed for cosmesis.
|
11.
|
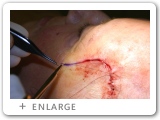
11. Surface stitches are placed.
|
12.
|
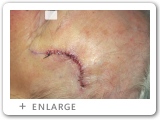
12. The final wound before dressings.
|
|
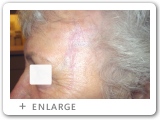
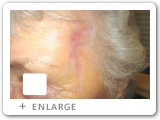
2 months following surgery:
|
|
13.
|
|
14.
|
|
|
|
|
|


